
This is a follow up blog post, after installing Cilium, see Kubernetes Cluster on Raspberry Pi using Ubuntu 22.04 LTS, K3s, and Cilium!
Ingress services are key in enabling functionalities such as path-based routing, TLS termination, and consolidating multiple services under a single load-balancer IP. Having spent considerable time at NGINX and F5, my allegiance leans towards NGINX, which I regard as the premier Ingress Controller for production-grade workloads.
Lately, my explorations have led me to delve deeper into Cilium. The L2Announcement and LoadBalancer IP Address Management (LB IPAM) features of Cilium, which have been game-changers, effectively replacing my use of MetalLB. Furthermore, Cilium now offers a fully compliant Kubernetes Ingress implementation right out of the box, which is more than capable of handling straightforward use cases.
However, I am not prepared to abandon NGINX within the Kubernetes ecosystem. Hence, this post is geared towards serving as a personal quick-start guide for anyone interested in installing the NGINX Ingress Controller in a Kubernetes cluster equipped with Cilium Networking.
NGINX Ingress Controller
This is not a complete guide and tutorial on how to operate it. For that, check out these resources:
- Ingress-Nginx Controller Installation and Getting Started
- How to deploy NGINX Ingress Controller on Kubernetes using kubectl
NGINX Ingress Controller is a production‑grade Ingress controller (daemon) that runs alongside NGINX in a Kubernetes environment. The daemon monitors NGINX Ingress and Kubernetes Ingress resources to discover service requests that require ingress load balancing.
NGINX vs. Kubernetes Community Ingress Controller
It’s important to clarify there are two versions of the NGINX ingress Controller:
- Community version:
Kubernetes/ingress-nginxis an Ingress controller for Kubernetes using NGINX as a reverse proxy and load balancer; this is the open-source community-maintained project. The community Ingress controller is maintained by the Kubernetes community, with support from F5 NGINX to assist in managing the project. - NGINX version: This version can be found in the
nginxinc/kubernetes-ingress. The NGINX Ingress Controller is developed and maintained by F5 NGINX and has documentation on docs.nginx.com. For more information, check out NGINX vs. Kubernetes Community Ingress Controller. It is offered in two editions:- NGINX Open Source-based: This edition is free and open source.
- NGINX Plus-based: This edition is a commercial option.
NGINX Quick Install using the Helm Chart
- Since I am deploying the ingress on my k3s cluster with Cilium L2 Announcements and LB IPAM will use this values file , also shown below.
controller:
  service:
    externalTrafficPolicy: Local
    type: LoadBalancer
    annotations:
      io.cilium/lb-ipam-ips: "192.168.111.200" # Static IP Assignment
  metrics:
    enabled: true
    #serviceMonitor: # Uncheck only if Prometheus metrics is installed
      #enabled: true # Uncheck only if Prometheus metrics is installed
rbac:
  create: true
Explanation:
-
*service: This subsection defines settings related to the Kubernetes Service associated with the NGINX Ingress Controller.
externalTrafficPolicy: Local: This setting affects how the external traffic is routed to the nodes and how the source IP is preserved. When set toLocal, the external traffic is only sent to Pods running on nodes that received the traffic. If there are no Pods on the node, the traffic is dropped. This setting helps preserve the original source IP of the client making the request.type: LoadBalancer: This specifies the type of service to be used. When set toLoadBalancer, it indicates that the service should be exposed using a cloud provider’s load balancer. This will provision an external load balancer that routes external traffic to the NGINX Ingress Controller.-
- Use Cilium Annotations (optional):
io.cilium/lb-ipam-ips: "desired-external-ip".Depending on your Cilium setup, you want to annotate the NGINX Ingress Service to specify IPAM-related configurations. The exact annotation will depend on your Cilium version and configuration. An example annotation might look like:
- Use Cilium Annotations (optional):
-
metrics: This subsection is for configuring metrics for the Ingress Controller.
enabled: true: This enables the collection and exposure of metrics by the NGINX Ingress Controller. These metrics can be useful for monitoring and observability purposes.serviceMonitor: This is a nested configuration under metrics. When set to true (-enabled: true), this indicates using a ServiceMonitor resource. ServiceMonitor is a custom resource used by the Prometheus operator to define how Prometheus should discover and scrape metrics endpoints. Enabling this will create a ServiceMonitor resource for the NGINX Ingress Controller so that Prometheus can automatically discover and scrape its metrics.
- We can install a specific version into a specific namespace, e.g.,
version 4.10.1of the helm chart into the namespaceingress-nginx
export INGRESS_NGINX_VERSION=4.10.1
export INGRESS_NGINX_NAMESPACE=ingress-nginx
export INGRESS_NGINX_RELEASE_NAME=ingress-nginx

helm upgrade --install ingress-nginx ingress-nginx \
	--repo https://kubernetes.github.io/ingress-nginx \
	--namespace $INGRESS_NGINX_NAMESPACE \
	--create-namespace \
	--values values.yaml
- Confirm that the helm chart has been deployed:
helm list -A | grep ingress-nginx

# Example output
ingress-nginx   ingress-nginx   1               2024-01-11 13:17:08.895650832 -0600 CST deployed        ingress-nginx-4.10.1   1.6.4
watchthe pods and services deployed in the namespace
export INGRESS_NGINX_NAMESPACE=ingress-nginx
kubectl get all -n $INGRESS_NGINX_NAMESPACE

NAME                                                          READY   STATUS    RESTARTS   AGE
pod/ingress-nginx-ingress-nginx-controller-8584b9bc56-jhkp8   1/1     Running   0          173m

NAME                                                       TYPE           CLUSTER-IP      EXTERNAL-IP       PORT(S)                      AGE
service/ingress-nginx-ingress-nginx-controller-metrics     ClusterIP      10.43.142.192   <none>            10254/TCP                    173m
service/ingress-nginx-ingress-nginx-controller-admission   ClusterIP      10.43.255.216   <none>            443/TCP                      173m
service/ingress-nginx-ingress-nginx-controller             LoadBalancer   10.43.103.51    192.168.111.200   80:31441/TCP,443:31994/TCP   173m

NAME                                                     READY   UP-TO-DATE   AVAILABLE   AGE
deployment.apps/ingress-nginx-ingress-nginx-controller   1/1     1            1           173m

NAME                                                                DESIRED   CURRENT   READY   AGE
replicaset.apps/ingress-nginx-ingress-nginx-controller-8584b9bc56   1         1         1       173m
Deploy a sample application and see it in action
We can use some applications to demonstrate NGINX ingress load balancing in action.
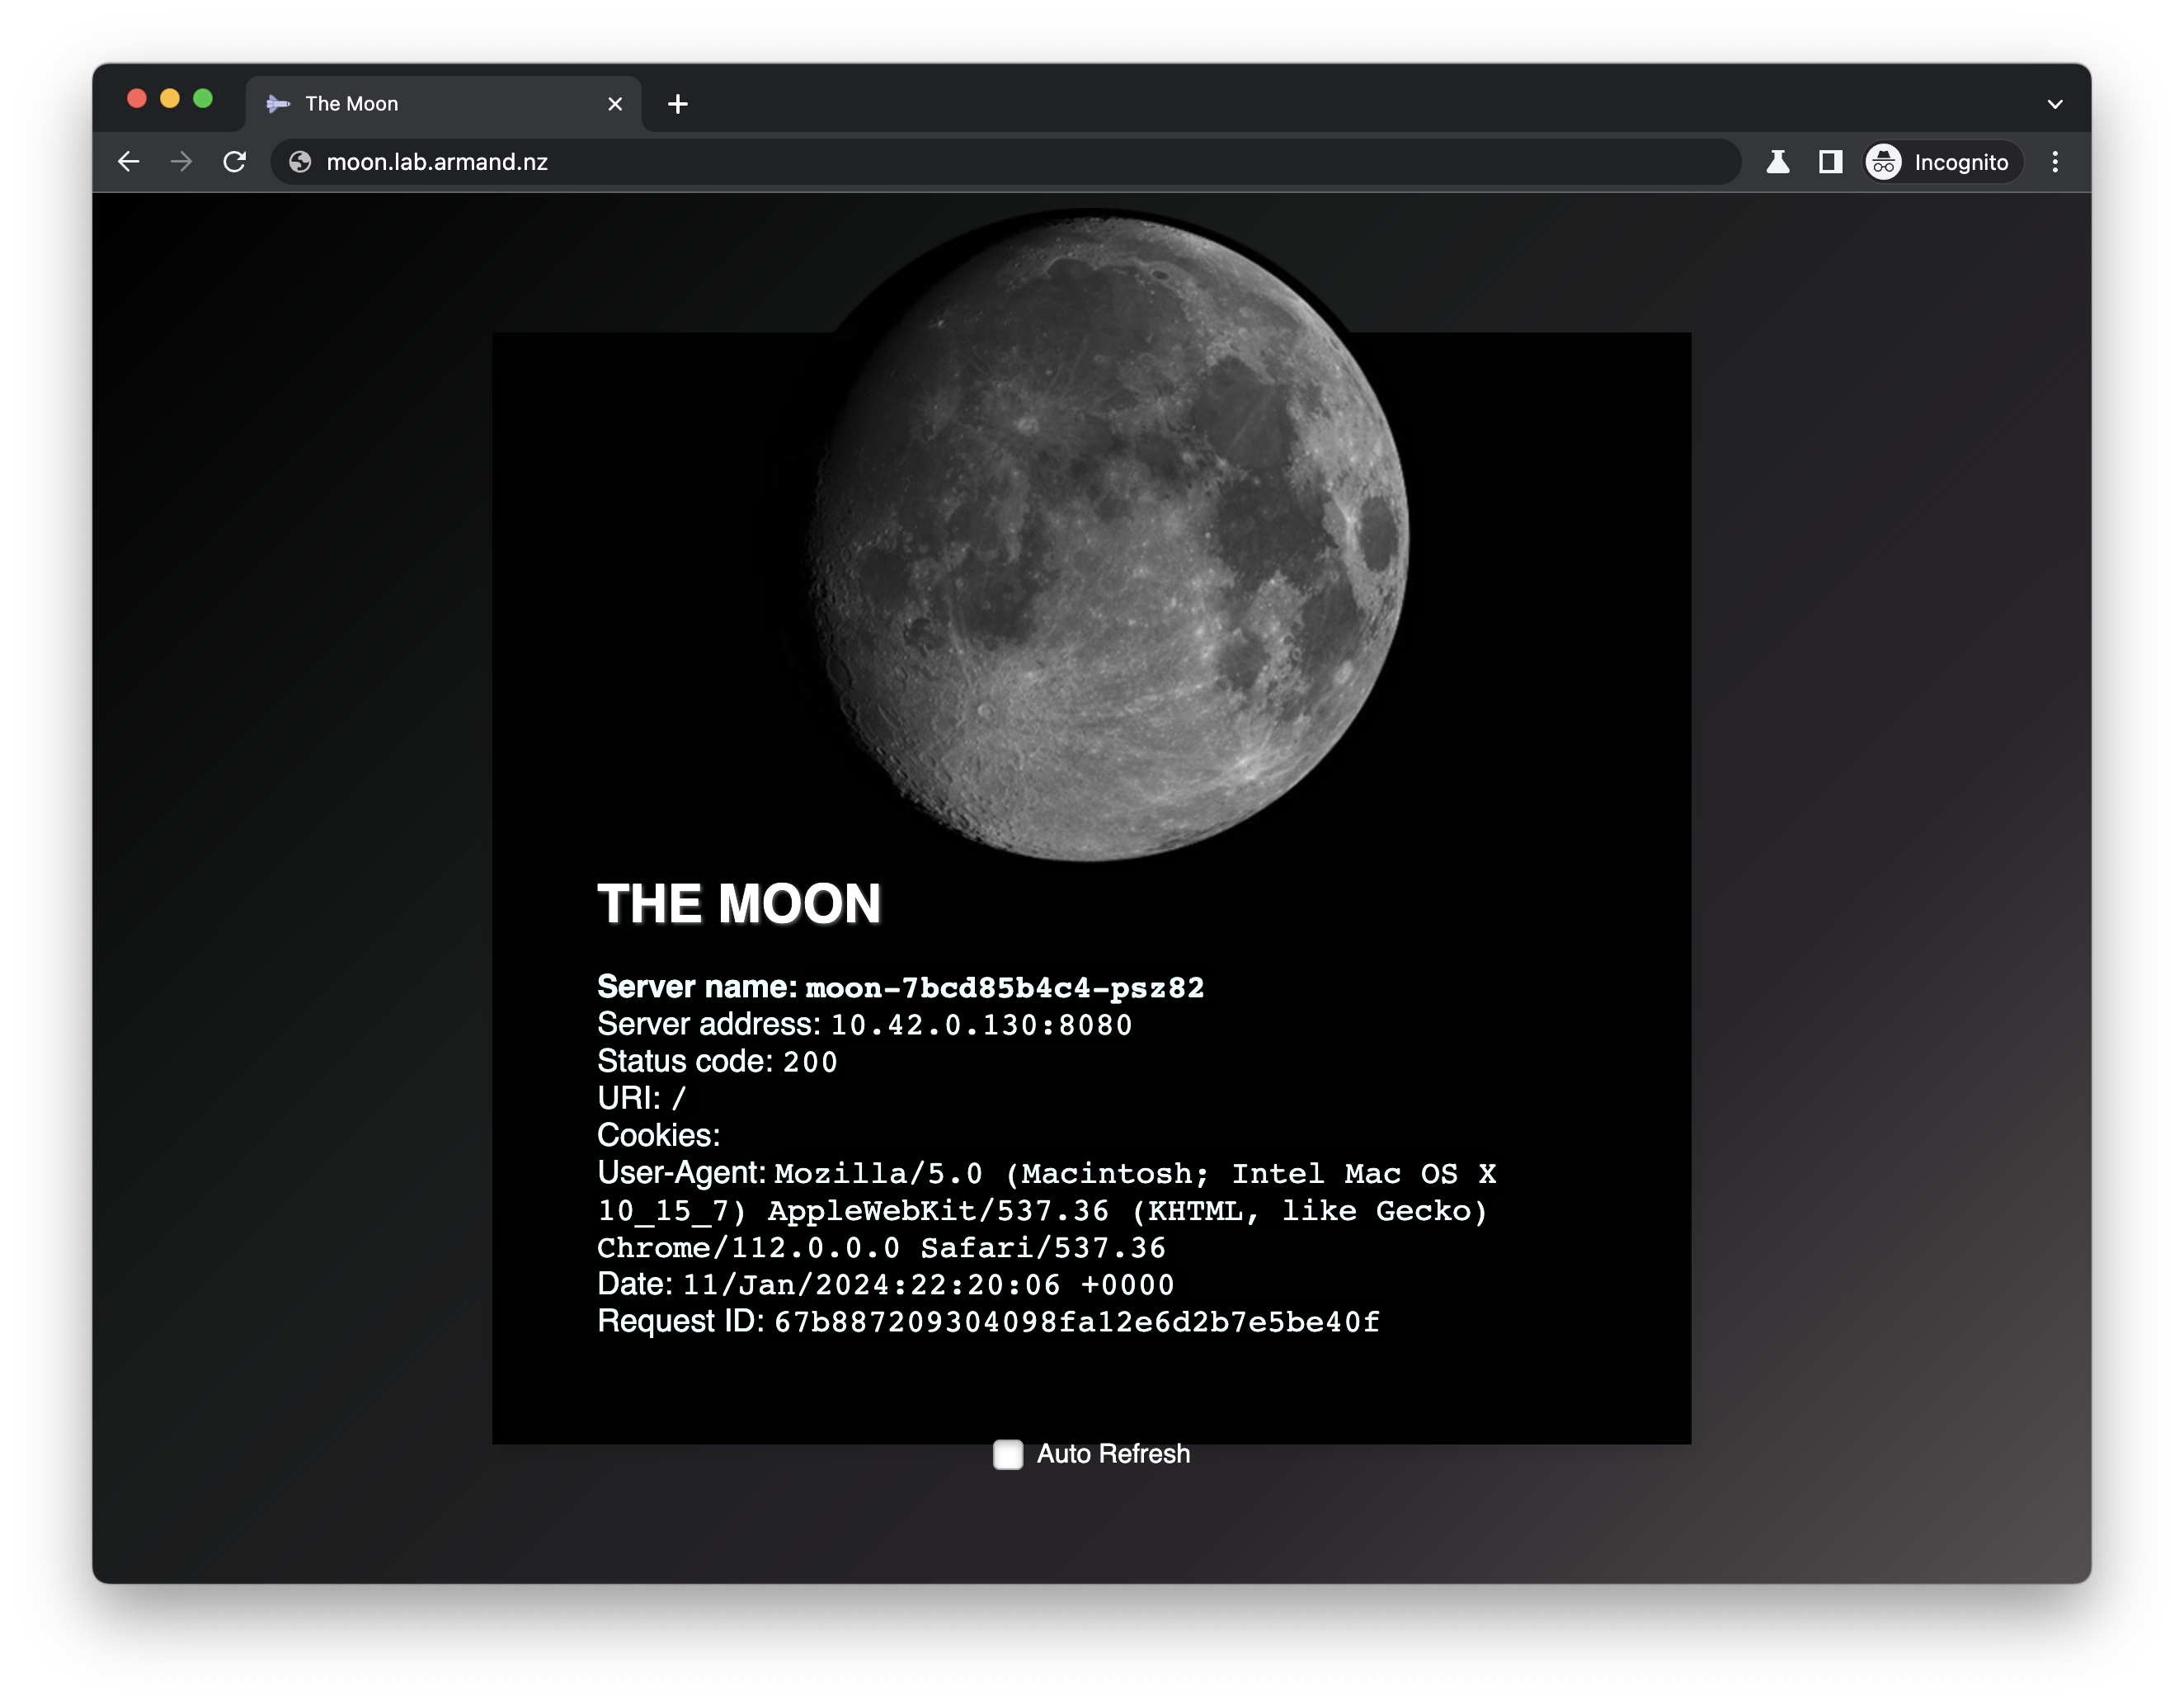
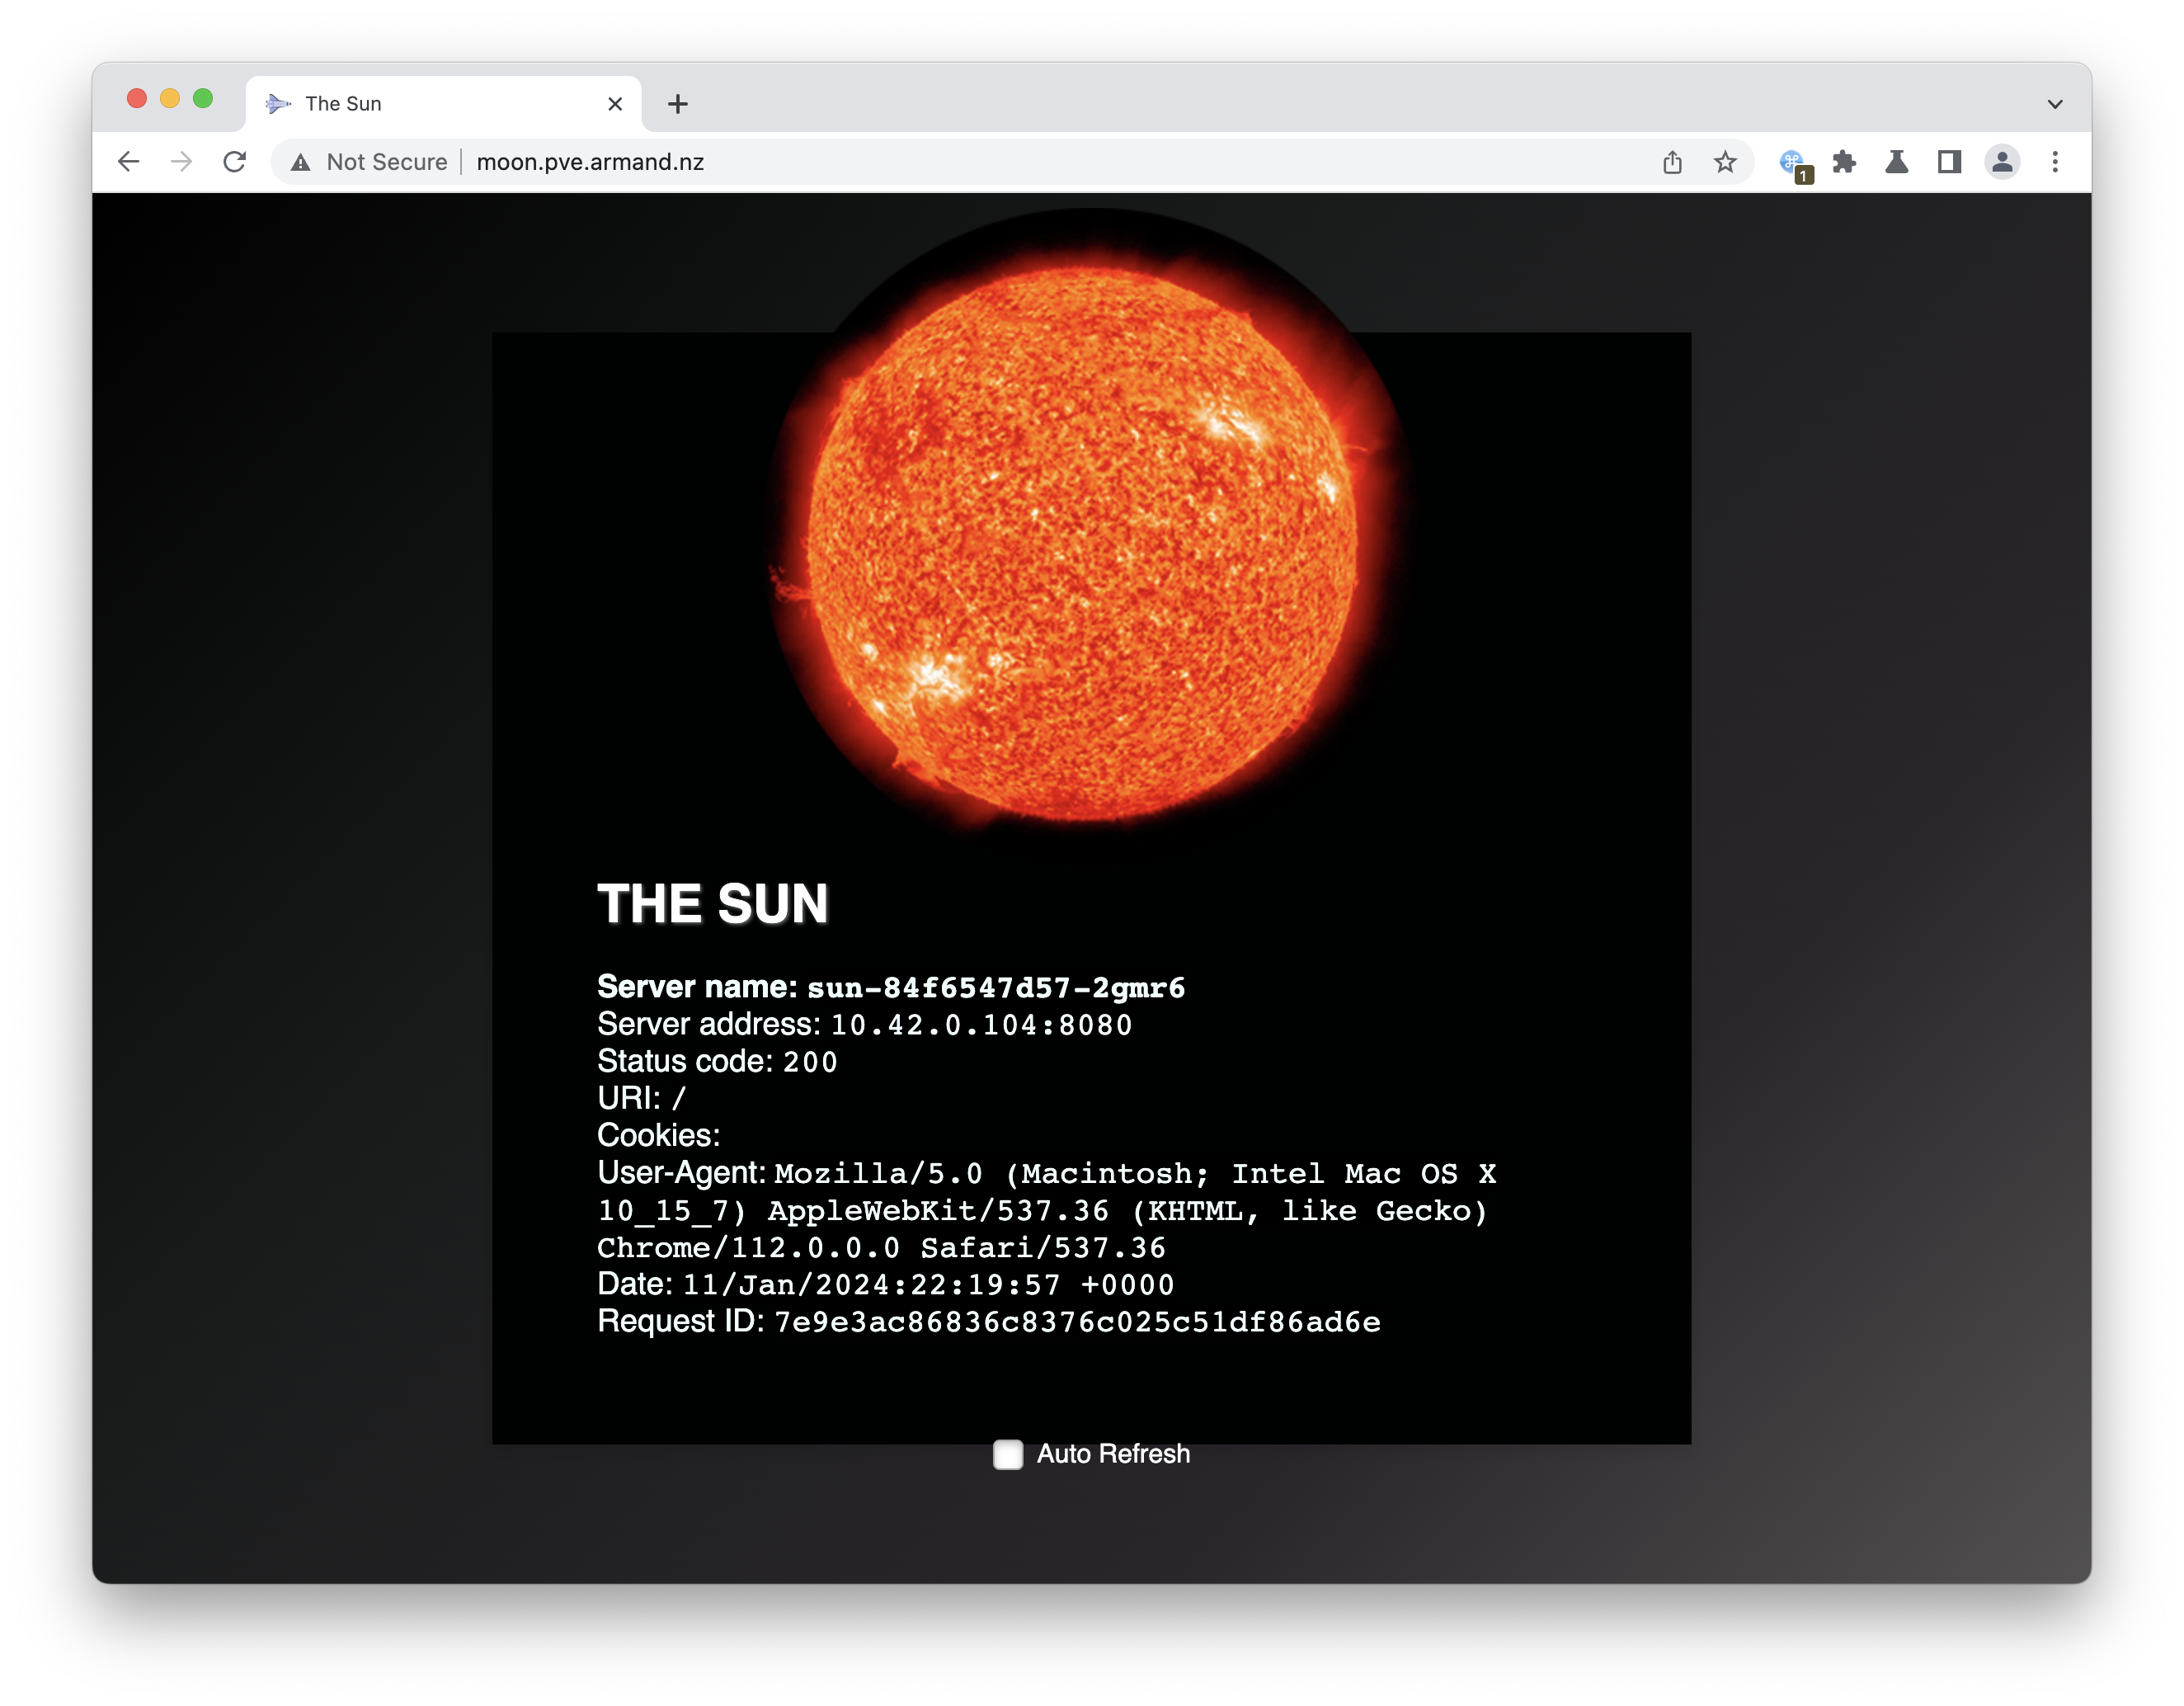
See this all-in-one manifest that deploys moon and sun web applications; both are simply NGINX web servers presenting a web page. There is a Service for each application; a service is a logical group of pods together and provides network connectivity. A service keeps track of Pod Endpoints (IP address and ports) we can connect to.
The manifest looks like this:
apiVersion: v1
kind: Namespace
metadata:
  name: solar-system
---
apiVersion: apps/v1
kind: Deployment
metadata:
  name: moon
  namespace: solar-system
spec:
  replicas: 4
  selector:
    matchLabels:
      app: moon
  template:
    metadata:
      labels:
        app: moon
    spec:
      containers:
        - name: moon
          image: armsultan/solar-system:moon-nonroot
          imagePullPolicy: Always
          # resources:
          #   limits:
          #     cpu: "1"
          #     memory: "200Mi"
          #   requests:
          #     cpu: "0.5"
          #     memory: "100Mi"
          ports:
            - containerPort: 8080
---
apiVersion: v1
kind: Service
metadata:
  name: moon-svc
  namespace: solar-system
spec:
  ports:
    - port: 80
      targetPort: 8080
      protocol: TCP
      name: http
  selector:
    app: moon
---
apiVersion: apps/v1
kind: Deployment
metadata:
  name: sun
  namespace: solar-system
spec:
  replicas: 4
  selector:
    matchLabels:
      app: sun
  template:
    metadata:
      labels:
        app: sun
    spec:
      containers:
        - name: sun
          image: armsultan/solar-system:sun-nonroot
          imagePullPolicy: Always
          # resources:
          #   limits:
          #     cpu: "1"
          #     memory: "200Mi"
          #   requests:
          #     cpu: "0.5"
          #     memory: "100Mi"
          ports:
            - containerPort: 8080
---
apiVersion: v1
kind: Service
metadata:
  name: sun-svc
  namespace: solar-system
spec:
  ports:
    - port: 80
      targetPort: 8080
      protocol: TCP
      name: http
  selector:
    app: sun
---
apiVersion: networking.k8s.io/v1
kind: Ingress
metadata:
  name: solarsystem-ingress
  namespace: solar-system
  annotations:
    nginx.ingress.kubernetes.io/rewrite-target: /$1
spec:
  ingressClassName: nginx # use only with k8s version >= 1.18.0
  rules:
    - host: sun.lab.armand.nz
      http:
        paths:
          - path: /
            pathType: Prefix
            backend:
              service:
                name: sun-svc
                port:
                  number: 80
    - host: moon.lab.armand.nz
      http:
        paths:
          - path: /
            pathType: Prefix
            backend:
              service:
                name: moon-svc
                port:
                  number: 80
- Download that manifest file and apply it to the cluster using
kubectl
curl https://gist.githubusercontent.com/armsultan/3b88590c03a25decad8443f30525dc5a/raw/b34d428677c80e83914043b7198cff916f65d43e/moon-sun-all-in-one-ingress.yaml -o moon-sun-all-in-one-ingress.yaml

kubectl apply -f moon-sun-all-in-one-ingress.yaml
- Check for the ingress’s external IP address on the
loadbalancer
kubectl get ingress -n solar-system

NAME                  CLASS   HOSTS                                  ADDRESS           PORTS   AGE
solarsystem-ingress   nginx   sun.lab.armand.nz,moon.lab.armand.nz   192.168.111.200   80      171m
- Test external access using a web browser or with curl in your terminal
curl  http://192.168.111.200 -s   -H "Host: moon.lab.armand.nz" | grep \<title
<title>The Moon</title>

curl  http://192.168.111.200 -s   -H "Host: sun.lab.armand.nz" | grep \<title
<title>The Sun</title>
- Using a web browser, you may need to add host file entries in your host file first
sudo echo "192.168.111.200 moon.lab.armand.nz sun.lab.armand.nz" >> /etc/hosts
Uninstall
- To remove the sun and moon apps in the solar-system we can use
kubectl
kubectl delete -f moon-sun-all-in-one-ingress.yaml

# OR, just delete the solar-system namespace
kubectl delete namespace solar-system
- To uninstall NGINX using helm, run the
helm delete command
export INGRESS_NGINX_NAMESPACE=ingress-nginx
export INGRESS_NGINX_RELEASE_NAME=ingress-nginx

helm delete $INGRESS_NGINX_RELEASE_NAME -n $INGRESS_NGINX_NAMESPACE